
Proper guidelines and factual information are the easiest ways to set up a VPN inside the Mac OS built-in system. Before you build a VPN inside your Mac system, it’s crucial to understand the VPN, its types, the server address, username, password, and shared secret provided by the VPN service. In this blog, we will learn about how to setup VPN on Mac using both manual and direct methods.
A virtual private network (VPN) is online software that provides Mac users with security and privacy for their online data. Setting up a VPN on a Mac may seem tricky and challenging, but we are here to make this process straightforward and ensure you can do it with confidence.
Our Top Favorite VPN Services: Check Out Now!


Why You Should Use VPN on Your Mac
The main functionality of any VPN is to provide privacy and security to your network connection. It helps protect users’ data from all kinds of online threats, including spoofing, data theft, hacking, and more. Another practical application of activating a VPN on your Mac is that it provides encryption to your network. Your original IP address is masked, and traffic is hidden from ISPs. Threat protection, an essential feature, helps block all kinds of ads and trackers. Furthermore, with the encrypted connection, you are nearly impossible to be tracked by any malicious actor online. Using a VPN empowers you to control your online experience, living in a safe place where nobody can interfere, let alone eavesdrop.
Here are a few reasons why you should consider using a VPN service:
- Privacy Protection: Virtual Private Networks (VPNs) help encrypt your internet connection and make it difficult for third-party actors who intend to harm you or to intrude into your privacy to get into your personal space. They provide complete privacy from your local Internet Service Providers (ISPs), governmental agencies, and hackers. In addition, VPNs help encrypt your browsing history, financial transactions, and logging history.
- Security: VPNs are valuable sources that ensure users’ online security by protecting sensitive data, such as passwords, private documents, credit card numbers, and more. Security features are beneficial when you intend to use a public Wi-Fi connection.
- Torrenting: This feature of VPN helps users share files with complete security. Your IP address is completely hidden, and you can access the Internet as an anonymous user to share all the files (including sensitive business files). This also supports secure peer-to-peer file sharing.
- Encryption: VPNs use advanced encryption protocols to provide security and privacy. These include AES-128 & AES-256 bits.
- Servers: Servers play a significant role in enhancing security and users’ experience. More servers can help distribute the traffic load equally across the globe, causing speed to increase. Servers available in different locations can help bypass geographical locations and access content from various regions.
- Kill Switch: This is an emergency feature that is activated when your Mac device is suddenly disconnected from the VPN service. When your Mac VPN is disconnected, your connection is exposed to the public. The kill switch helps prevent this from happening. From the start, when your VPN is disconnected, it gets activated and blocks access to your browsing from being exposed to external sources.
- Access to Geo-blocked Content: VPNs provide your Mac device with a private IP address from a different location. As a result, you can access content (e.g., streaming libraries) from a new location without facing any restrictions.
How to Setup VPN on Mac
Now that you have chosen a VPN based on informed decision-making, it is time to set it up. There are two ways to set up a VPN on your Mac: the easiest and the most challenging one.
The easiest method involves downloading the app from the app store. The other method involves manually designing the system settings so that it automatically starts protecting and securing your system while you are online. It is a bit tricky, but it is doable.
How to set up VPN App on Mac
- First, you need to download the VPN app on your Mac either from the app store or from the official website of the VPN service you like.
- Once the installation is complete, sign up for an account and make sure you store your email and password in a safe place.
- Use the account details (email and password) to sign in to the VPN app
- Click on the button to connect to your desired server location.
Setting Up Your VPN App Manually: A Step-by-Step Guide
This process for encryption is different from what a VPN service provides. Most people are interested in something other than building an encrypted web browsing activity or Mac IP address while online. They want to have a private network for any specific activity. In that case, VPN does not make any sense, so they lean into manually configuring their own Mac OS system. They turn their Mac into a private network, and achieving that is a challenging thing.
The manual configuration also has an advantage for old Mac users, especially the ones who are no longer compatible with modern-day VPN services. It lets them manually build a private network on their system and access a fully secure browsing system.
How to Set Up VPN Using Manual Configuration
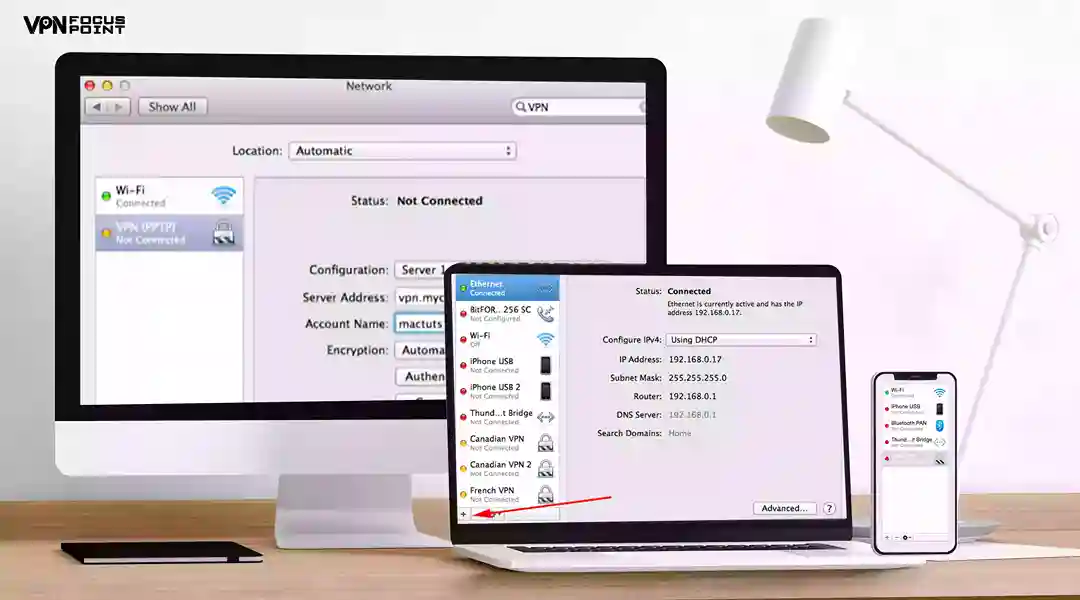
- First, go to the official System Settings and hit the Network button.
- Click on the plus sign and then do the same with Interface.
- Now, you will see the VPN button. Click on it.
- When you click, you will see a list of VPN connections. Choose which one you want to set up for your Mac OS.
- Click on the “Create” button.
- Once done, choose the protocol from these options: IPsec, IKEv2, and l2TP. Here is a brief introduction to what these protocols are:
- IPsec: This protocol measures internet connections, especially those that are fully encrypted through a tunneling process or just the data packet’s message.
- IKEv2: If the VPN is disconnected from your Mac device, IKev2 will try to reconnect it with the VPN.
- L2TP: In combination with IPsec, it helps generate tunnels using encrypted data while online.
- Now that protocols have been selected. Enter the account name and your chosen server address.
- Click on the authentication setting option.
- Collect the information from the private network administrator and enter it.
- Click on the advanced button, which will let you add more information to the system about servers, DNS servers, proxies, and protocols like TCP/IP settings.
- Now, almost all is done. Click on the “apply” button.
- Finally, click on the “ok” button.
Testing a VPN for Mac
Here, we will represent a sample case of a VPN client for a Mac OS system.
You will see an icon in the notification bar when you connect your Mac device to a VPN. This icon is a sign that you are currently associated with a VPN service. If you are interested in getting more information about the VPN, just click on the icon inside the notification bar.
Remember, VPN service responds to your internet connection. When you connect your network to a VPN, it slightly drops. However, if your regular internet speed is already not good, then the overall VPN experience would also not be so great. So, to maximize the experience of service, make sure you are connected to a quality internet speed.
Use Wi-Fi Explored to learn more about your Wi-Fi system. It provides a detailed connection analysis and explains why it is slow.
Establishing a VPN Connection on Mac
After you have set up your VPN on the Mac, as we described in the above part, now it is time to connect it to the Mac for a real-life experience. Here is how you connect your VPN on a Mac device:
- First of all, click on the Apple menu and then do the same with the System Preferences option.
- You will see the Network icon – click on it.
- You will see a box on the left-hand side. There, you will need to select a particular VPN service.
- If you are required to choose any configuration, then do so here. (Sometimes, it may not be asked, but it is possible to have this)
- Now, all is set. Click on the connect button to establish a connection between Mac and VPN.
These five steps are all that are required to establish a connection between the Mac OS system and the VPN service. Choose your service and then connect it to the Mac by following the above five simple steps. Not only can you establish a connection between Mac and VPN, but you can also have access to fast internet with complete security and privacy.
Which VPN is Good for Your Mac?
There are various VPN services for Mac these days. Most often, all these services claim to have quality features and provide unique services to their clients. However, there are specific parameters through which you can measure the performance of those VPNs and learn which one is the best. Here, we have a list of the top three best VPNs that are best for any Mac OS user. These VPNs have been tested stringently and have provided satisfying performance for feature compatibility, speed, and budget plans.
ExpressVPN

ExpressVPN is one of the highly competent services available in the market. It provides robust security and privacy for its users’ data. It uses advanced encryption protocols like Lightway protocol to ensure users’ safety online. For example, this protocol helps ensure IP addresses are masked, location is not detected, and browsing history and personal identity are kept anonymous. Moreover, the entire server infrastructure of ExpressVPN is RAM-only based, which means it cannot collect users’ personal information.
- 5 Simultaneous Connections
- Verified "No-Logs" Policy
- 30-Day Refund Guarantee
- 3,000+ Servers in 90+ Countries
- Split Tunneling/Network Kill Switch
- No Free Trial Available
NordVPN
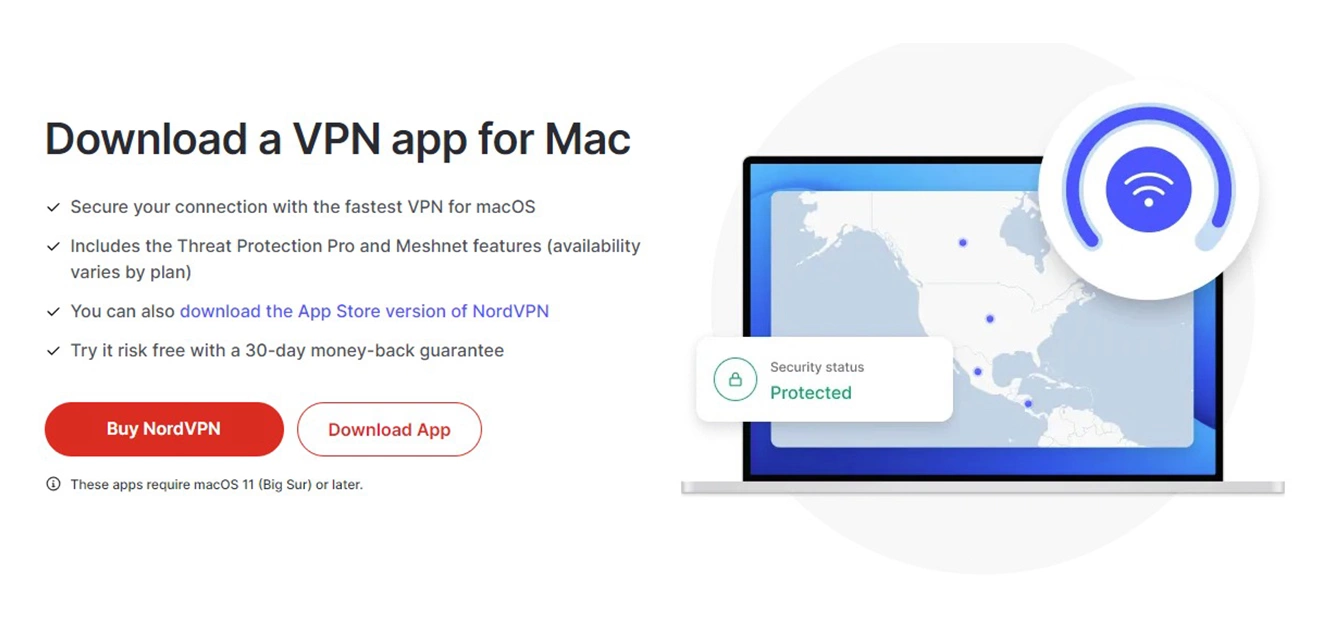
NordVPN is one of the top-performing VPN services for Mac. It provides the best security and privacy features, ensuring users’ safety while online. Due to a massive number of servers, NordVPN is the fastest service, is streaming-friendly, and provides a fully mature torrenting feature. It is also capable of unblocking all kinds of restrictions and censorship on the Internet, including the firewalls put in place by some highly regulated states, i.e., China or Iran.
- 6 Simultaneous Connections
- Audited by PwC Switzerland
- 30-Day Refund Guarantee
- 5,000+ Servers in 60+ Countries
- Downtime Issues on Some Servers
Surfshark
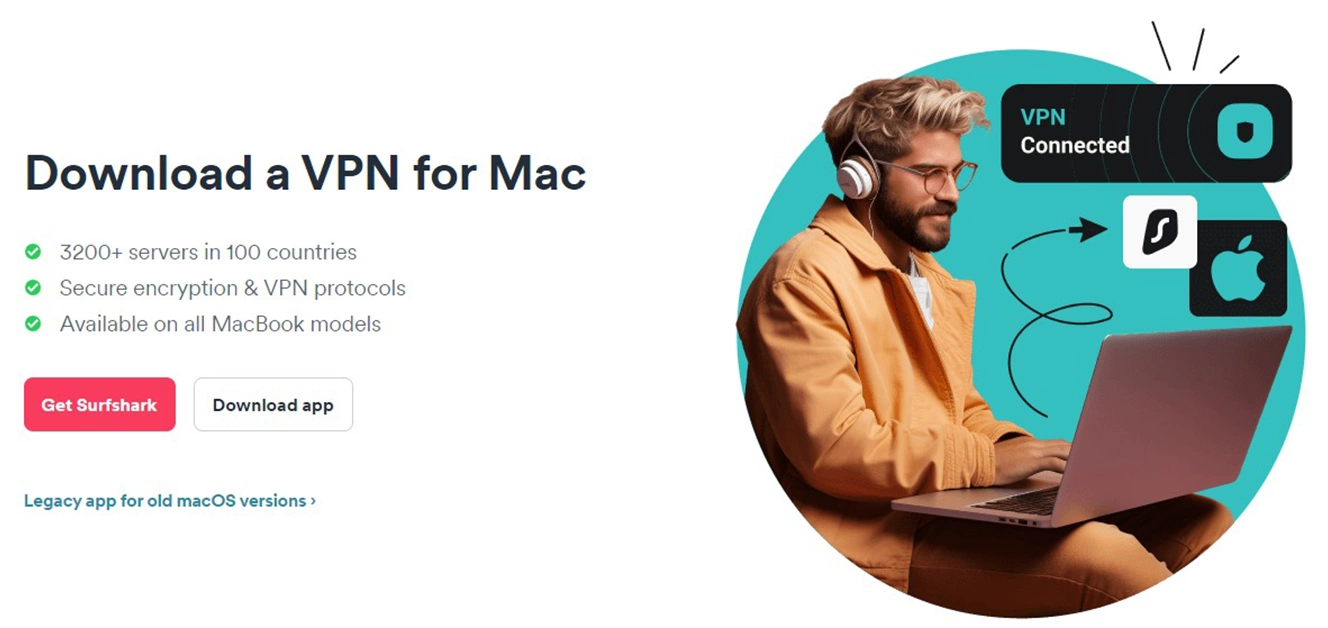
It is best known as a budget-friendly service that provides quality features, including security, privacy, streaming, and more. It has the highest number of servers, making it a high-speed service. You can connect your Mac and as many other devices as you want. The encryption protocols are also pretty advanced, which makes sure that users’ personal information is safe. Moreover, Surfshark takes security very seriously; it has implemented a no-logs policy, which means the service cannot collect users’ information.
- Unlimited Simultaneous Logins
- No-Logs Policy Audited by Cure53
- 30-Day Moneyback Guarantee
- 7-Day Free Trial on iOS/Android
- 3200+ Servers in 100 Countries
- No Split Tunneling on iOS
- Slow speeds on a few server locations
Conclusion
The setup of a VPN on a Mac is more straightforward. It follows just a few simple steps. First, decide which VPN service you want to use, then install it on your service and sign up for your account. Finally, sign into the app and connect the VPN service with your nearby server.
The alternative to app setup is manual configuration. It is lengthy and requires laborious work, which you should avoid if your service provides an app option. NordVPN, one of our top choices, has a highly autonomous app set up. It can be installed within seconds on your Mac, and you can immediately start using a safe connection from anywhere across the globe. This service provides short- and long-term offices and market-competitive features, ensuring network speed and users’ online security and privacy. Choose the service that saves you time and ultimately provides you with safety against threats while online. Luckily, NordVPN can do all this for you for free.
The simple answer is No. Mac OS system does not provide a built-in VPN; however, it offers support for different VPN protocols, which lets you configure a VPN connection on your system. Here is an easy way to set up a connection without any built-in interface:
First, Access the VPN Settings.
- Go to the Apple Menu and click on the System Preferences
- Now, click on the Network option
Second, Add VPN Configuration.
- Look at the bottom left of the network service and click on the + button.
- You will find a dropdown. Click on the VPN option.
- Select your VPN type.
- In the VPN connection, mention the name of your VPN service.
Third, Enter the details.
- Your server address
- Remote ID
- Local ID
- Username, Password, and certificate
- Encryption settings
Fourth, connect to your VPN.
If you have a VPN app, open it and choose to connect or disconnect from there. However, for the Mac OS operating system, you need first to open the Network Setting option, highlight the VPN, and then click on the disconnect button.
We usually avoid recommending that our users install free VPNs on their devices; however, there is one service that we tested for security and privacy, and it didn’t disappoint – it’s called Proton VPN. It is an entirely free service, and as per our testing, it also did well with security and privacy features.
You can change the location of your VPN on Mac through either System Setting or a third-party VPN application.
Here is how you can change your location manually:
- Click on the Apple icon, which is available in the upper left corner of your Mac home screen.
- Now, click on the System Preferences option.
- Go to the third row and click on the Network option.
- You will see a list of connections on the network’s left sidebar. Select one connection.
- Look at the bottom right corner and click on the advanced option.
- Click on Configure IPv4, and a drop-down menu will appear. Select manually here.
- Fill in the option options like IP address, Subnet Mask, and Router tabs altogether.
- Save your settings by clicking ok.
Here is how you can change your location on the VPN application:
- Option the VPN Mac Application.
- Click on the location option (some VPNs provide a Geographic map).
- Select your location.
- Click on the start or connection option.
See the Connected option. You are good to go.